Automatic MySQL backups to Cloudflare R2 using Rclone
Cloudflare R2 is a cost-effective S3-compatible object storage with a generous free pricing plan - perfect for storing database backups. In this post, we'll create a bash script to automate the database backup process and offload them to R2 using Rclone.

The importance of database backups cannot be overstated. Although we hope never to need them, unforeseen events can happen at any time, and as a systems administrator, having a recent backup available will make your life much easier. In this post, we'll explore a simple bash script to automate database backups, offload them to remote storage and prune old backups to minimize storage costs. Let's take a look at the bash script, and then we'll break it down, line by line:
#!/bin/bash

FILENAME=$(date +%Y-%m-%dT%H:%M:%S).sql
DATABASE=database_name
BUCKET=bucket_name

mysqldump --single-transaction --skip-lock-tables --quick $DATABASE > ./backups/$FILENAME

gzip ./backups/$FILENAME

rclone move ./backups/$FILENAME.gz R2:$BUCKET/
rclone delete --min-age 30d R2:$BUCKET/
You'll need to update the DATABASE and BUCKET variables accordingly.
Naming backups
Before we export the database, we need a filename. Storing backups using a timestamped filename representing when the backup occurred is a good idea. This will make it easier to find in the future.
FILENAME=$(date +%Y-%m-%dT%H:%M:%S).sql
This creates a variable called FILENAME and assigns it the output of the date command with .sql as the suffix. The date command is formatted with a custom pattern, which results in a timestamp like 2023-03-31T12:34:56. We'll use this throughout the remainder of the script.
You'll want to prefix the bucket name if you store backups for different projects in the same bucket.
Create a database export using mysqldump
MySQL backups are made easy, thanks to the mysqldump utility.
mysqldump --single-transaction --skip-lock-tables --quick $DATABASE > ./backups/$FILENAME
Here, we export the database specified by the DATABASE variable into a file within the ./backups/ directory. We're using the FILENAME variable we created above for the filename. We're also passing a few recommended flags:
-
--single-transactionThis option ensures the backup is created within a single transaction, providing a consistent database snapshot. -
--skip-lock-tablesThis option prevents a LOCK TABLES command from being issued, which would prevent any other sessions from modifying the tables during the backup process. -
--quickThis option reduces the memory required when exporting large tables. It does this by fetching rows from the server one at a time instead of buffering the entire table in memory.
One thing missing from the mysqldump command is authentication, so this command will likely fail unless you run it as the root Unix user. To overcome this, you can securely store your database credentials in a .my.cnf file:
$ nano ~/.my.cnf
Add the following client configuration, ensuring you update the user and password. Remember, this user will need access to the database being exported.
[client]
user = forge
password = secret
You'll want to lock down this file so only the current Unix user can read it:
$ chmod 600 ~/.my.cnf
To test that the .my.cnf file is being used, you can attempt to connect to MySQL without providing any credentials. If OK, you'll be dumped into a MySQL console:
$ mysql
Welcome to the MySQL monitor.  Commands end with ; or \g.
Your MySQL connection id is 1376
Server version: 8.0.32-0ubuntu0.22.04.2 (Ubuntu)

Copyright (c) 2000, 2023, Oracle and/or its affiliates.

Oracle is a registered trademark of Oracle Corporation and/or its
affiliates. Other names may be trademarks of their respective
owners.

Type 'help;' or '\h' for help. Type '\c' to clear the current input statement.
Compress the backup using gzip
On Unix systems, data compression is straightforward thanks to various built-in tools. We'll use gzip, which replaces our input file with a compressed file with the ".gz" extension.
gzip ./backups/$FILENAME
If your database export is large, you may want to consider using pigz instead of gzip. Pigz is a drop-in replacement for gzip but leverages multiple processor cores, meaning it's much quicker. Pigz isn't installed by default, so you must install it via your package manager. On Ubuntu, you would use apt:
$ sudo apt install pigz
Copy the backup to Cloudflare R2
Rclone is a utility for managing files on cloud storage. It supports over 40 providers, including the major ones like Amazon S3, Backblaze B2, and Google Cloud Storage. This makes it the perfect candidate for our automated backup script because we can use the same utility regardless of which storage provider we choose. If you wish to change storage provider in the future, the changes are minimal; just add a new remote.
Rclone is not installed by default but can be installed on most Unix-like systems using the following command:
$ sudo -v ; curl https://rclone.org/install.sh | sudo bash
Once installed, you must configure a remote. You can use the rclone config command or create a new file located at ~/.config/rclone/rclone.conf with the following contents:
[R2]
type = s3
provider = Cloudflare
access_key_id =
secret_access_key =
region = auto
endpoint =
acl = private
You'll need to update the access_key_id, secret_access_key, and endpoint values, all of which can be retrieved from your Cloudflare dashboard.
To test that Rclone can connect to your remote, you can use the rclone size command, which outputs the total size of all the buckets on R2 that your key is authorized to access:
$ rclone size R2:
Total objects: 82 (82)
Total size: 23.585 MiB (24730558 Byte)
R2 corresponds to the name of the configured remote. If you're using a different remote name, use that instead.
In our bash script, we use the rclone move command to copy the file to R2 and then delete the local copy. This keeps local disk space under control.
rclone move ./backups/$FILENAME.gz R2:$BUCKET/
Prune old backups
Rclone makes it super simple to delete old backups from Cloudflare R2 thanks to the rclone delete command. You can specify a minimum age for backups, and rclone will delete anything older:
rclone delete --min-age 30d R2:$BUCKET/
This will keep backups for 30 days before deleting them.
Testing the backup script
First, ensure your bash script is executable:
$ chmod +x backup.sh
Next, create the directory where backups will be stored locally. This will be used only as temporary storage, as backups will be moved to R2.
$ mkdir backups
Next, run the bash script:
$ ./backup.sh
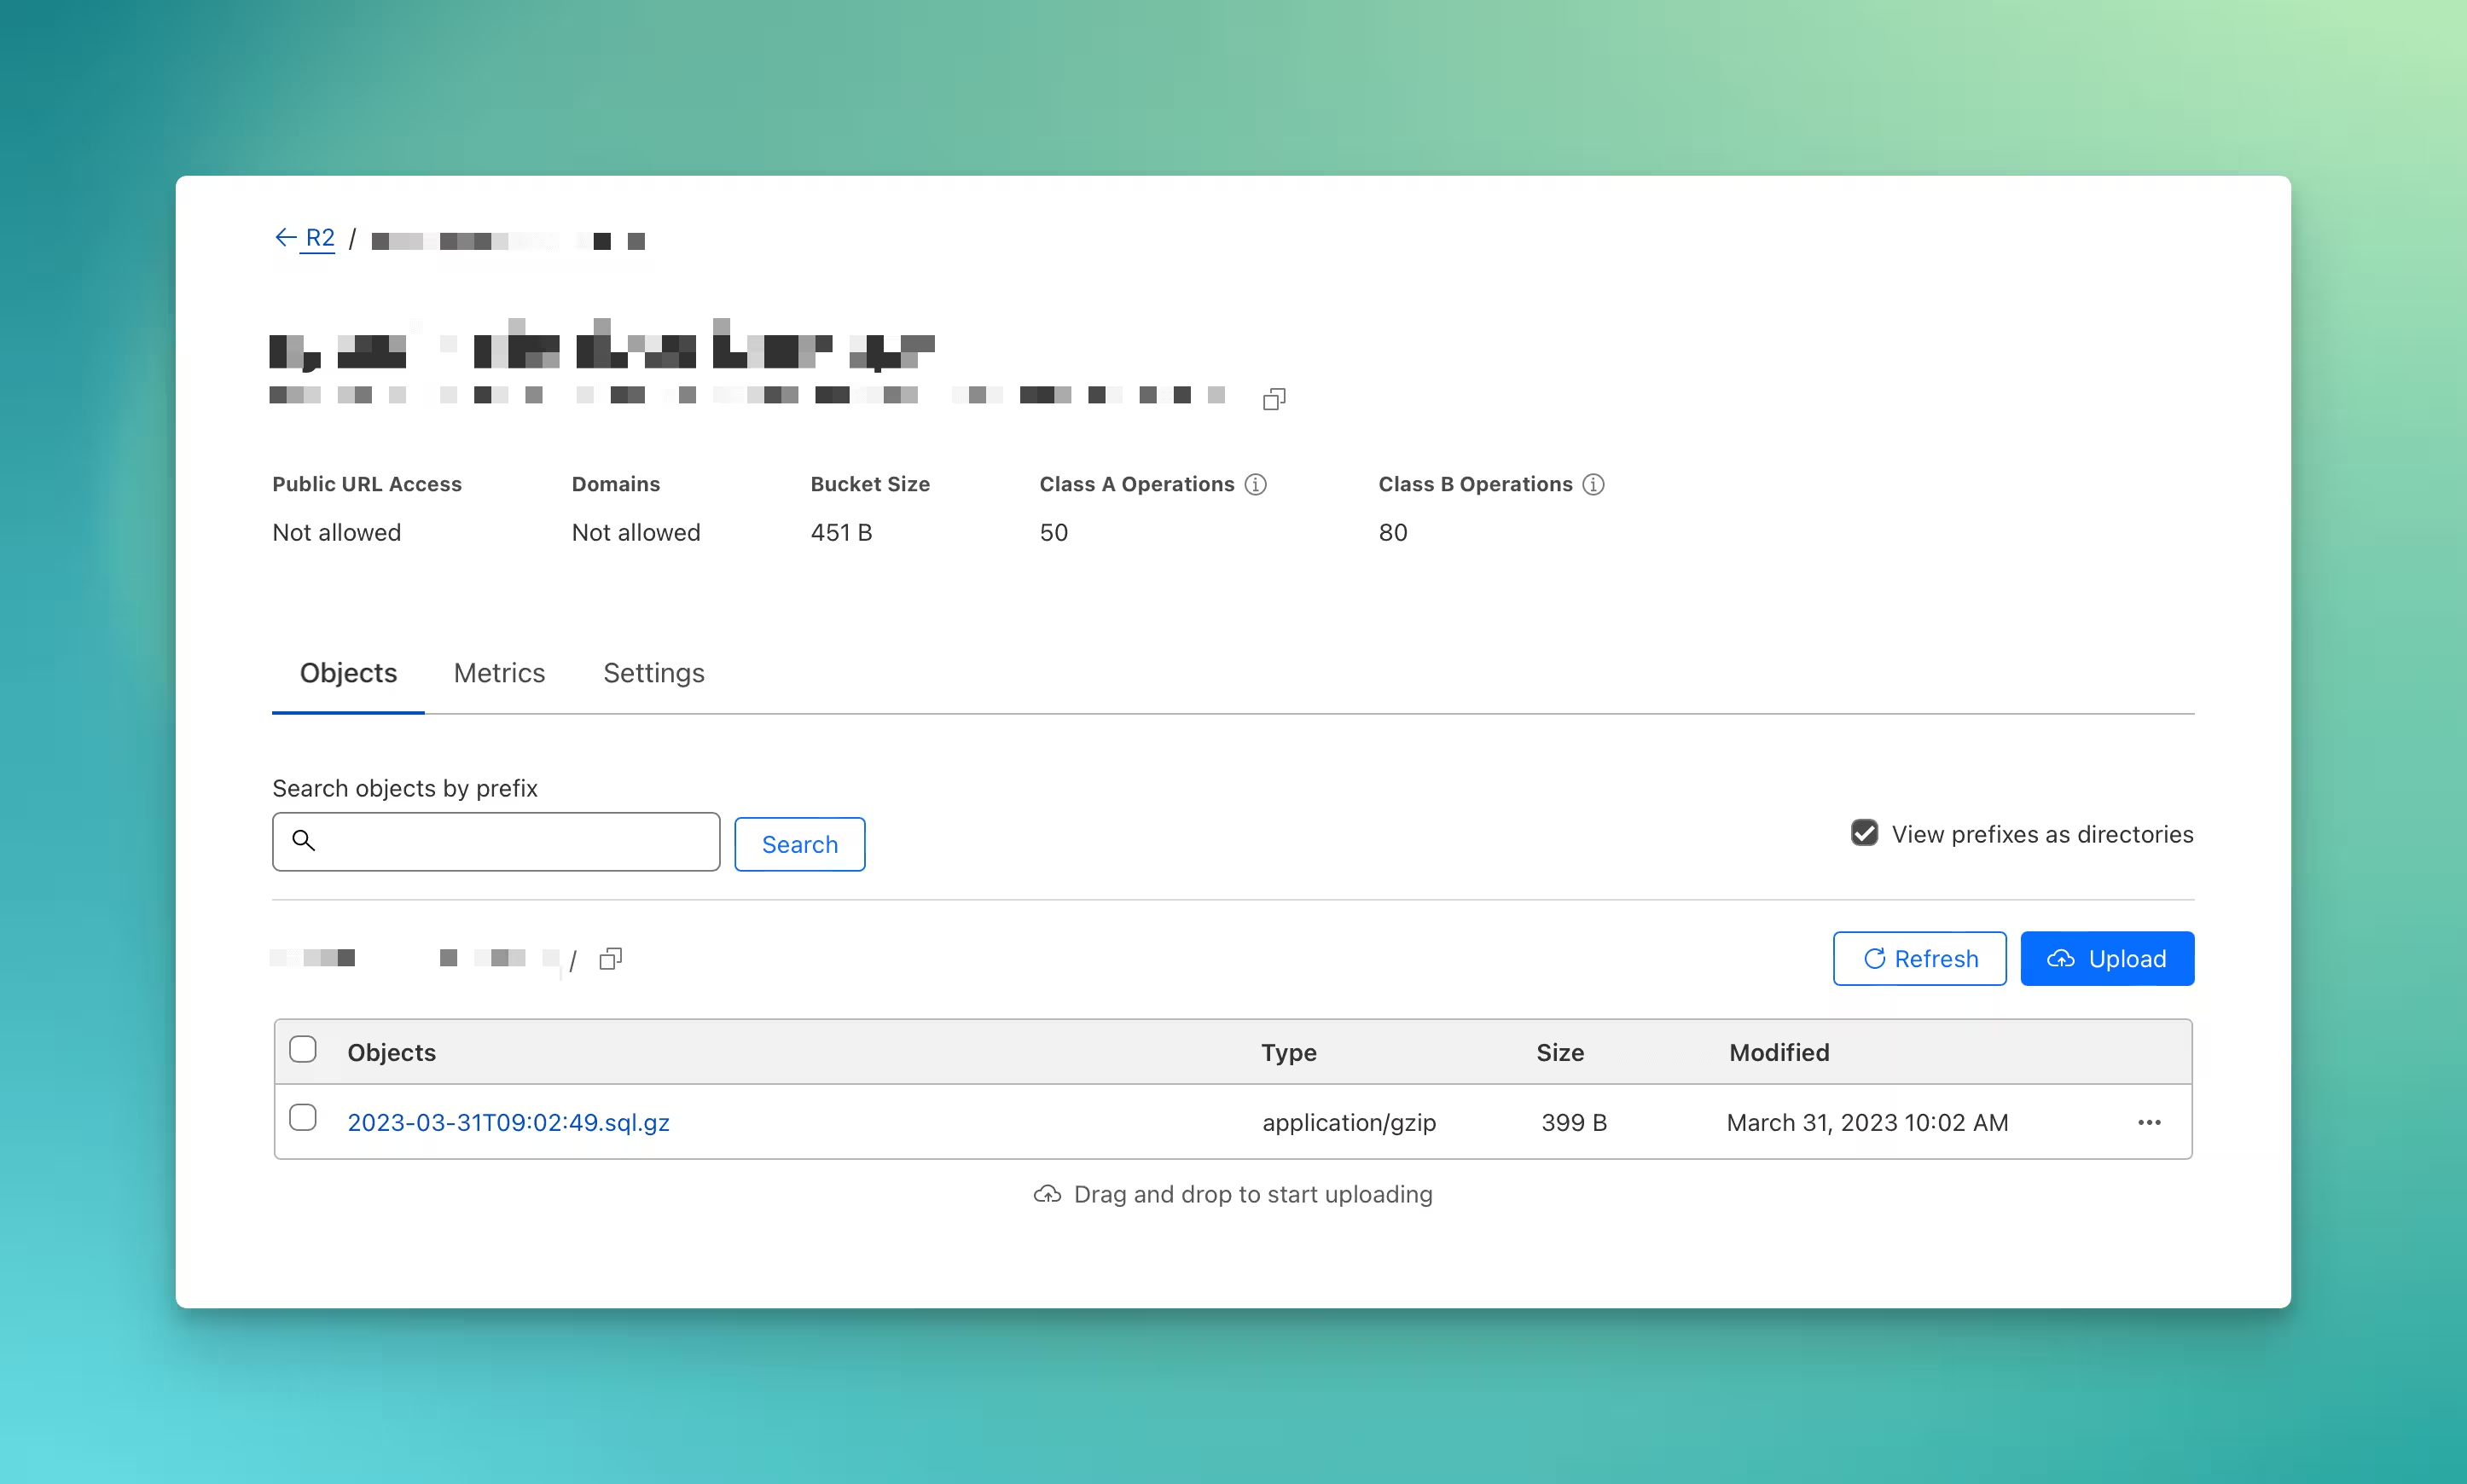
If the backup is successful, no output will be shown, and the backup file should appear in Cloudflare R2. Depending on the database backup size, this may take a while.

Automatic backups with cron
To automate the backup process, we will use Unix cron, a time-based job scheduler in Unix-like operating systems. Cron can be used to schedule the execution of one-off commands or scripts, which we'll use to execute our backup.sh script. It's cron that will determine the backup frequency.
Open the current user's crontab using the -e flag. If this is your first time using crontab, you'll be prompted to select an editor. nano is the most straightforward editor to use and is the default.
$ crontab -e
Add a new crontab entry on a new line. Remember to update the path to point to the directory where backup.sh resides:
0 0 * * * cd /PATH/TO/BACKUP.SH/DIR; ./backup.sh >/dev/null 2>&1
This will run the backup at midnight every day. You can change the cron schedule expression to change the backup frequency. For example, 0 */4 * * * will run the backup every 4 hours. If you're unfamiliar with cron schedule expressions, check out Crontab.guru.
That's a wrap
Setting up automatic MySQL backups is easy, thanks to mysqldump and rclone. With this simple bash script, you can ensure your backups are consistent and accessible when you need them most, providing peace of mind in the face of unforeseen events. Additionally, the versatility of Rclone allows you to adapt this solution to various storage providers.
Before we go, remember to periodically check that your database backups are restorable! I've seen too many occurences where database backups were corrupt or empty, making them useless! Check them often by ensuring they can be imported.